January 12th 2015
The kit has arrived at last, pictures and build details will commence soon. Watch this space!
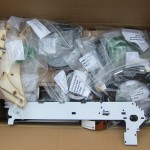
A large box of bits! Scores of plastic bags, hundreds of nuts bolts and bits.
Quenton Reed
March 7th 2015.
The first assembly commences.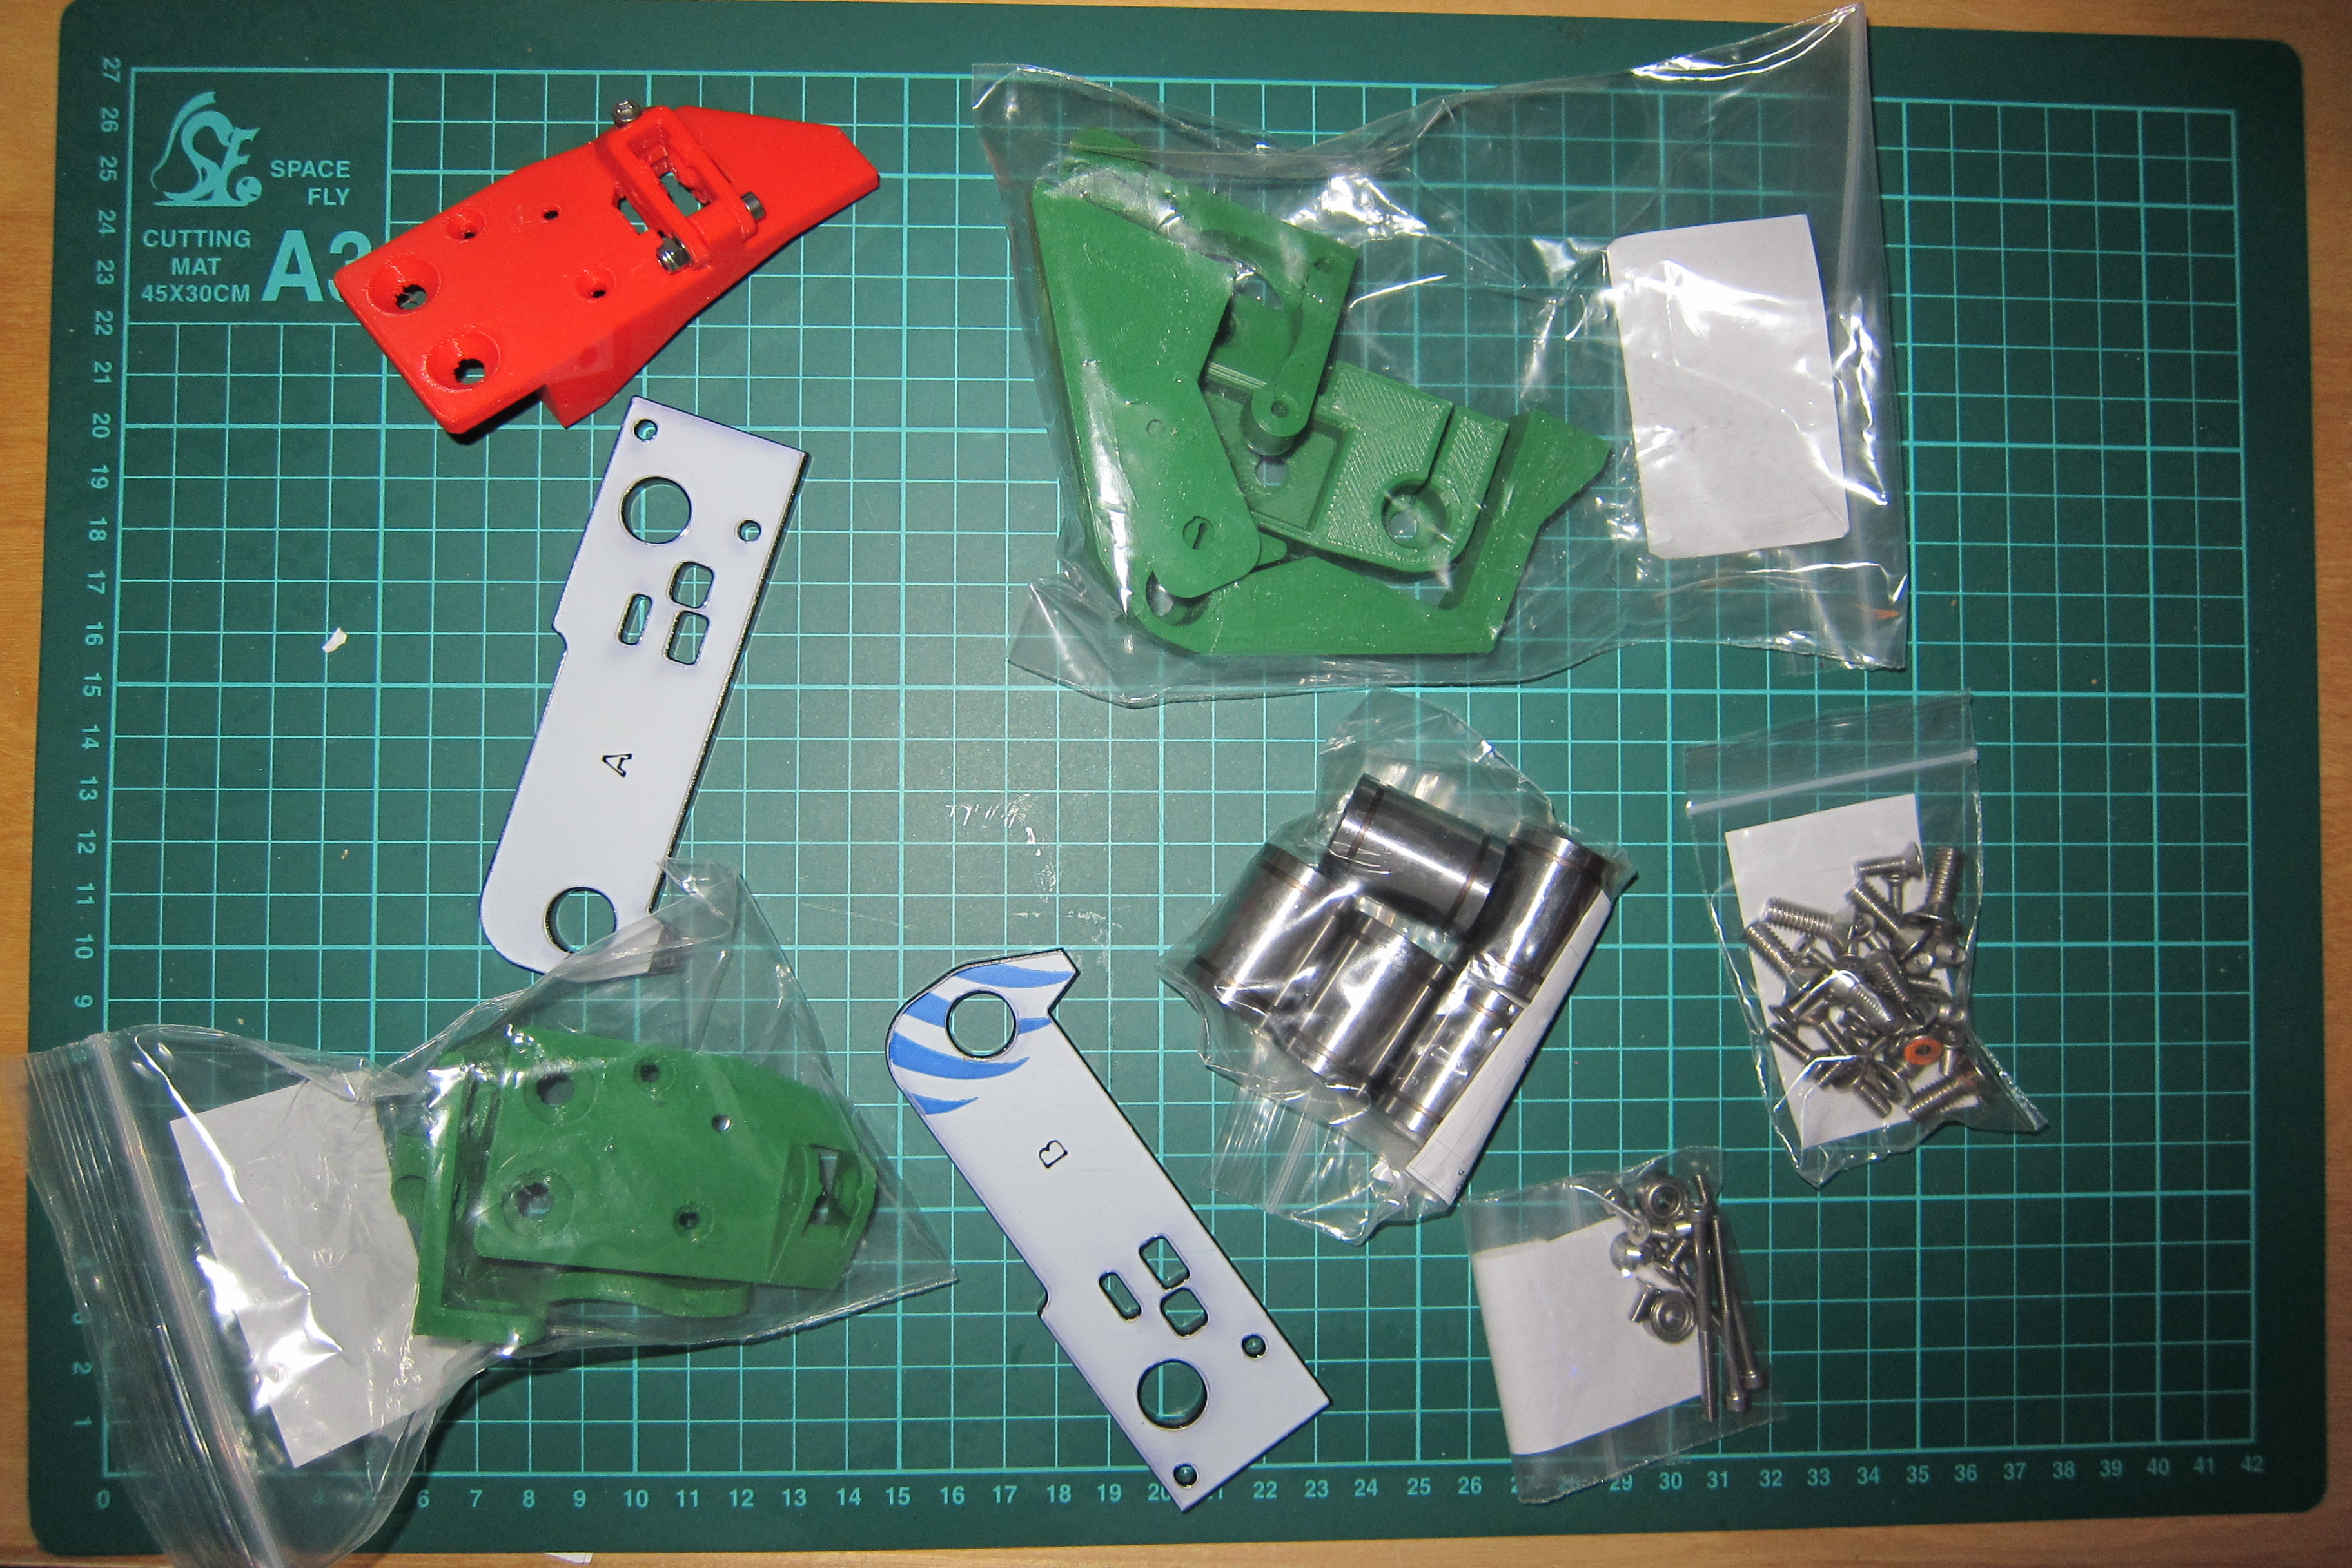
At last I have found the time to proceed with the 3D printer build and it is going well. This is how it looks as of today.
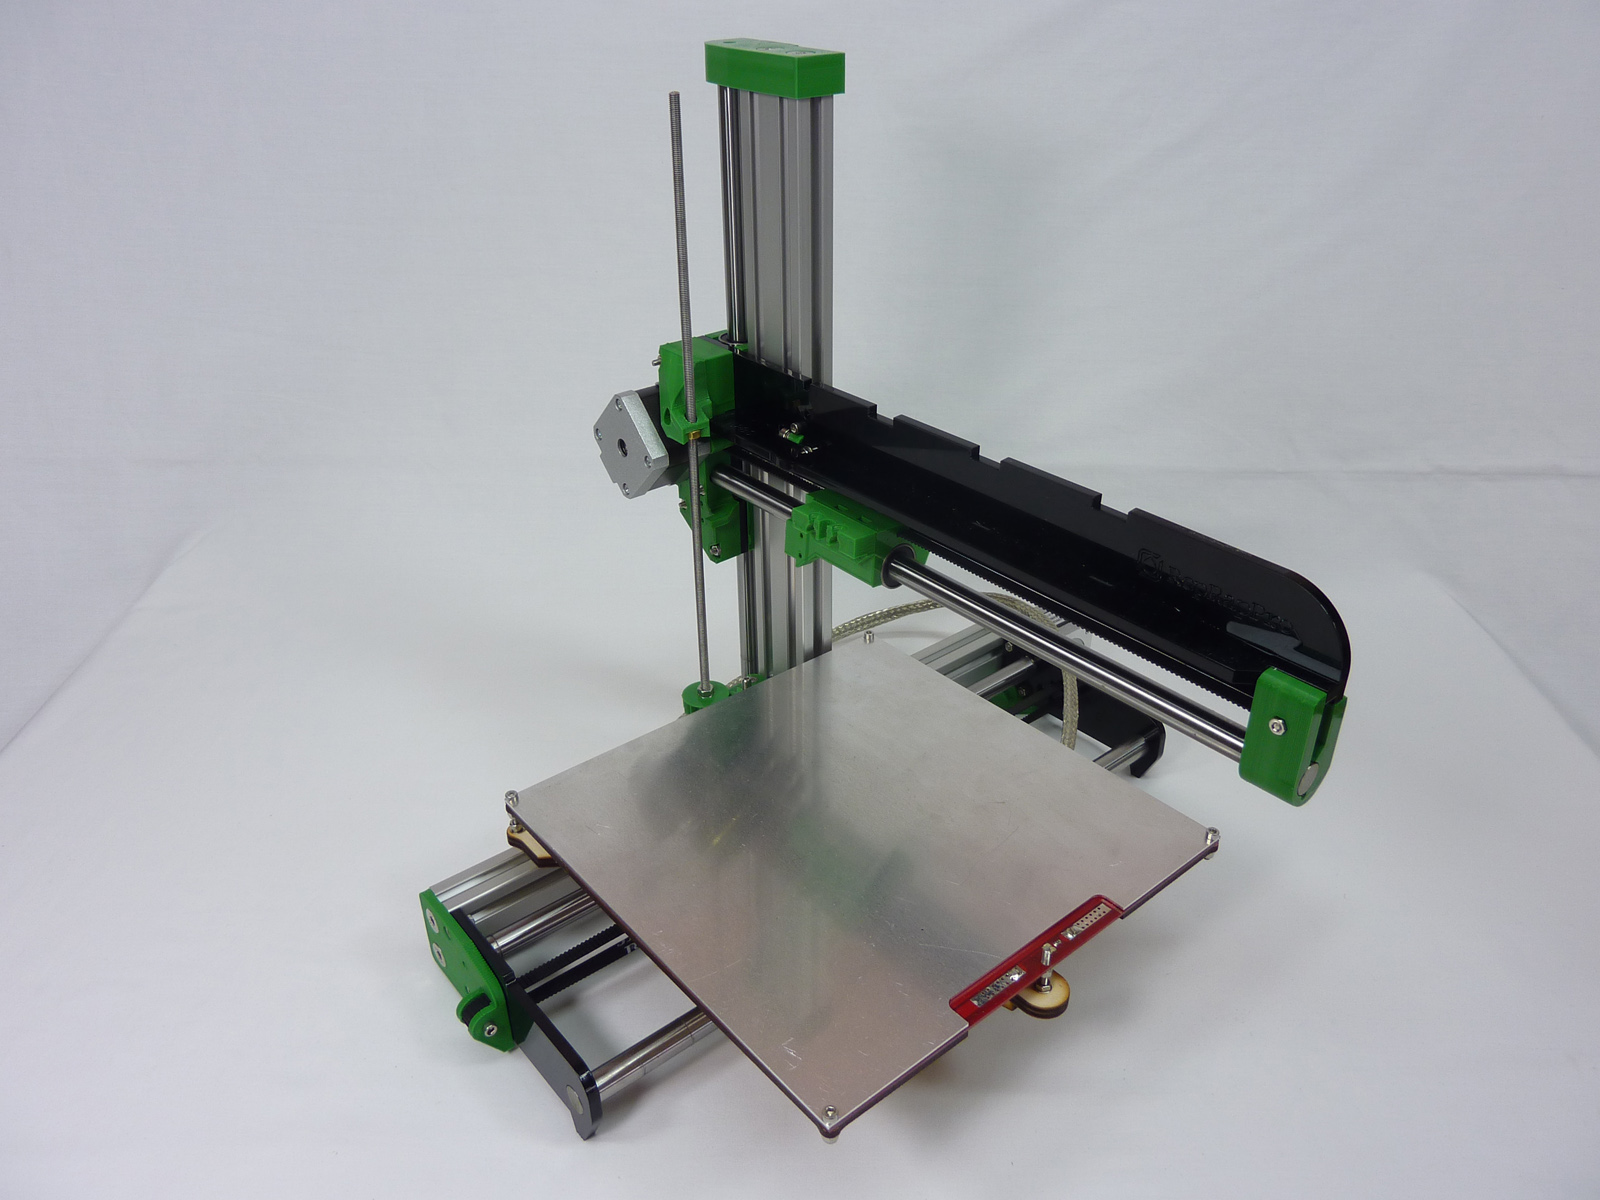
Should be only a couple of days or three now before I can set it up and commission it. First task after that will be to print at least one spare set of parts and if anyone wants a set, let me know as it knocks about £70 off of the cost of the kit from RepRapPro. I should imagine that the cost of the printed parts will be at or near cost of consumables to members, watch this space.
May 20 2015
Having now completed the major remodelling of our on-suite shower room I was able to turn my attention today to the printer. Today I thought I would have it printing as I only needed to set up the extrusion rate and try a test print (although a bit more setting up will need to be done afterwards).
Well, the darn thing would not play ball, refusing to home correctly and doing strange things. No matter where I positioned the axis it kept telling me that it had homed at x0,y0,Z0, whilst trying to bury the extruder into the bed and push the x axis off of the end of the boom.
Trouble is it started doing this after I made a minor alteration to the configuration file to change it’s IP address (it has a network based control panel, more on this another time).
So, naturally I thought that I had made an error in the configuration file causing the issue. I wasted a number of hours on this red herring . I changed the file back to the original and all started working ok, and then it stopped working ok and I hadn’t changed anything. So I had a cup of tea. Eventually after the obligatory head scratching and several further cups of tea, and a number of hours later the penny dropped. It was a bright sunny day and I was doing the work in my favourite room, the conservatory!
The printer is equipped with an infrared proximity sensor to sense the extruder height from the bed on the Z axis and also the end stop on the X axis, this was being flooded by sunshine, making it appear as if it was correctly homed in any position, darn it (insert own words here). I moved it to a north facing room and all was well. Lesson learnt but time wasted, but I did get the network interface working and learnt a lot more about this machine. More later.
May 28th 2015
Printed the first item today, the ReprapPro coat hook, not bad. Then I printed the axis compensation alignment tool. The machine was not far out of square and only minor self adjustment parameters needed to be updated. Happy with the progress, I went to bed.
May 29th 2015
Tried printing another item this afternoon, all went haywire. The axis compensation routine caused the Y axis to over shoot and the Z axis to wind itself skyward while disconnecting the machine from the control software, I hit the on off switch many times whilst trying to figure out the problem. Some time later I remembered I had entered the axis compensation parameters in the start up configuration file the night before. Hmm, tried resetting those to zero, bingo, all started working ok. Seems that a firmware bug caused it and I need to update the firmware.
Printed a whistle, a bit rough but it worked.
May 29th 2015
Noticed the extruder nozzle was a tad off of plumb, but the adjustments were at maximum. Removed the extruder bracket and applied it to a flat sheet of sandpaper to give it a slight rake. Reassembled and adjusted it to be square with the bed. Printed more whistles, getting better but not perfect,base layer of extruded plastic was flattening too much causing a belled ridge around the base of the whistle.
May 30th 2015
Made small adjustments to extruder height until I got the base layer of printed plastic to stick to the bed, but not overspread, latest printed whistle is pretty darned good.
Many thanks to Mike Goom for passing on some of his hard earned experience on his Ormerod printer and supplying me with an updated belt tensioner printed on his own machine which has made life easier for me. Thanks too to David Gray for sharing his Ormerod build experiences with me also, hope you start printing soon Dave.
More to come with pictures soon.
I’m off to bed, happy with my work so far.
Check out my friend John Baguley’s experiences with a 3D printer at this address!
http://www.modeng.johnbaguley.info/3D%20Printing/3D%20Printing1.htm
Thanks David, that’s a pretty comprehensive write up. I’ll study that in depth a bit later, before I commence the build.
Quenton
I bought one of the Ormerod 2 printers at our exhibition and have been using it for nearly six months now. I have made some changes and have a few more I will be making when I have time to strip and rebuild the machine. If you want any help or would like to see mine in action please let me know. I still have a lot to learn, but you may as well learn from the (many) mistakes I have already made
Great thanks Michael, that will save me making the same mistakes, hopefully, looking forward to chatting with you. I’ll be starting the build very shortly.
The 3D printer build is almost done, unfortunately I’m having to slot in the build with other projects. The major one being our on-suite bathroom. But both will be finished soon!